The Mega Transect

Motorcycle keys hung up for now, it’s a pleasure to share how we took a Toyota 4WD through its transformation. Ignoring the swarm of butterflies celebrating in my stomach, I’m hoping our efforts and choices will reap reward on what we’re calling ‘The Mega Transect’. Possibly help inform a decision you may need to make concerning an exciting road trip ahead.
Cape to Cape
Mid May 2019 saw White Rhino, our hulking Hilux rattle to chunky metal life on a shakedown in Scotland. Beyond the Outer Hebrides, Nordkapp in Northern Norway awaits, as does Iceland and the Faroe Islands. Eventually, we’ll journey back through Europe down the African continent to Cape Town – it’s hard not to grin. I only hope the gear and aspirations on which we’ve loaded up will see us through the next leg of swapping the life conventional for the drive of a lifetime.

Rig
The moment I laid eyes on the 2015 Hilux 4-door, double cab with 5-speed
manual transmission ($15,600/£12,000 on eBay), I
wasn’t convinced we’d made the right choice. Costing more than we had budgeted,
a no-frills shell stood before me. Still, the rig’s low mileage and rep for
Herculean strength paid dividends from the outset and if we curry enough favour
with it, in years to come.
Seeking advice from experienced overlanders who had already embarked on exactly what we intended to do, even the industry pros recommended the Hilux. It’s a lot like an underpowered Tacoma but with slightly better fuel consumption being a diesel. Hiluxes are readily available through most of the European portions we’ll be in and ten a penny in Africa; keeping life manageable regarding maintenance, parts and any repairs.
The 2.5-litre engine won’t win any races but it’s sufficient to take us where we’re headed. Endeavouring to leave the handling unaffected, we’ve kept the roof load light; a low centre of gravity is always going to bring better handling. There’s a slight wallowing in corners taken too quickly but we can live with that.

Canopy
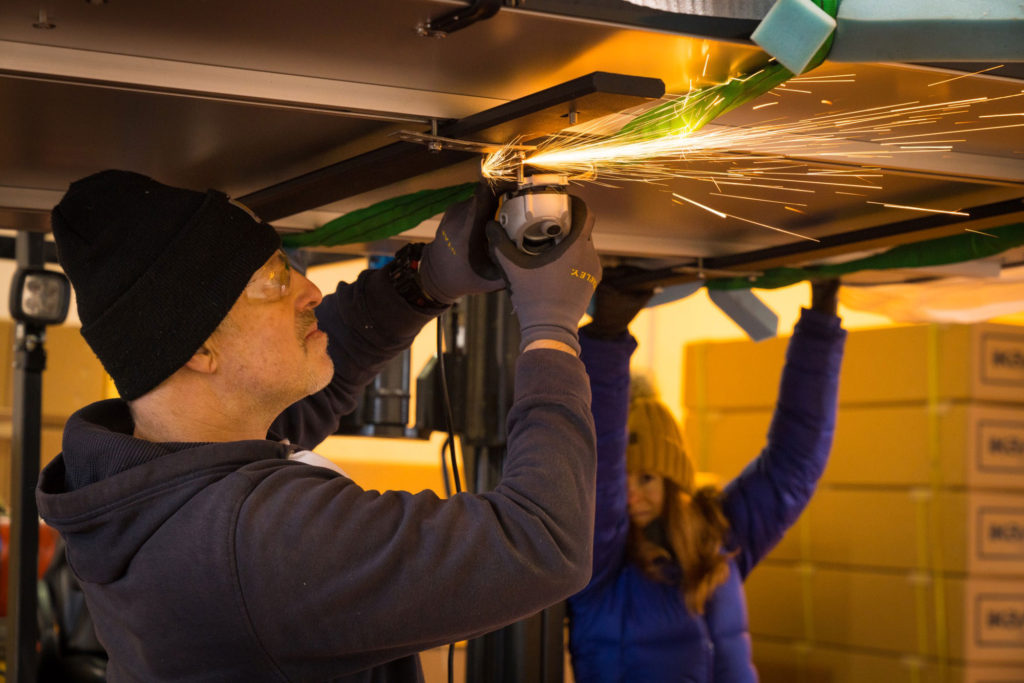
Taking a more angled aesthetic, the canopy (RSi SmartCanopy) is a colour-coded thing of pragmatic beauty. Personally, I like the way its utilitarian look adds to the serious overlander image. Made from automotive grade stainless steel, it’s three times stronger when it comes to strength-to-weight ratio compared to aluminium or fiberglass. For us, that means the canopy is robust enough to weight-bear the rooftop tent among other things – a small elephant probably.

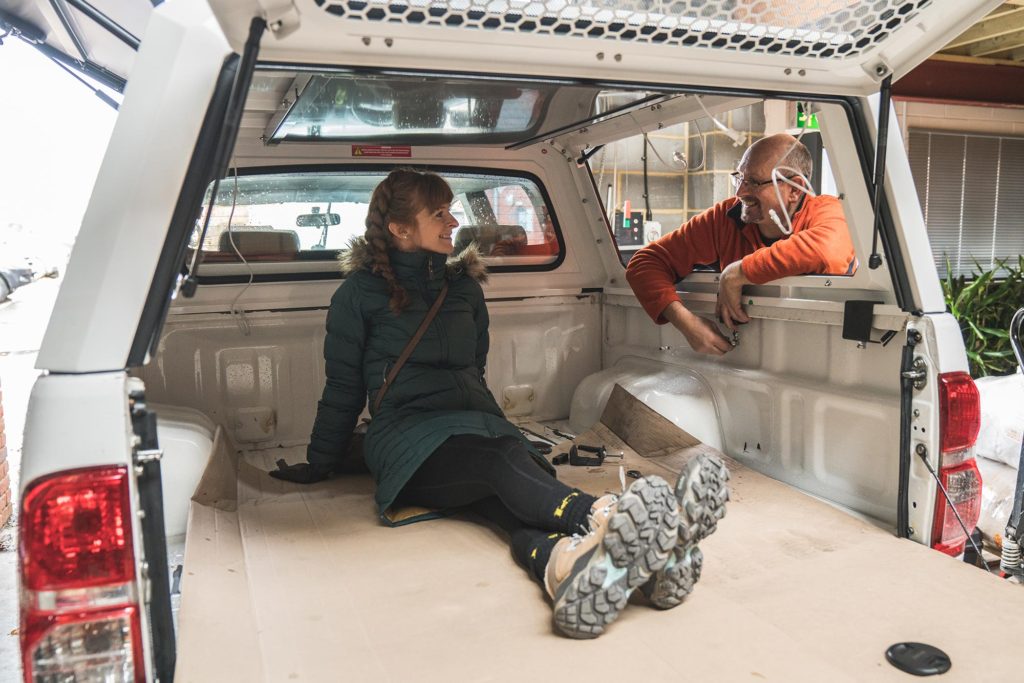
Unlike traditional hardtop canopies, it’s modular in design and therefore bolted together. Namely, it avoids weld-fatigue cracking and foremost, panels can be replaced should, I don’t know, a junvenile elephant leans into one. Volumes of lockable storage grant the freedom to walk away at a trailhead with peace of mind.

My only request to improve the Premier range system: make the locks slightly bigger for ease of use. No central locking or one key for all, a squirt of WD40 keeps the six small lock mechanisms shipshape where we also carry spares in case one deteriorates in dust, dirt and sand.


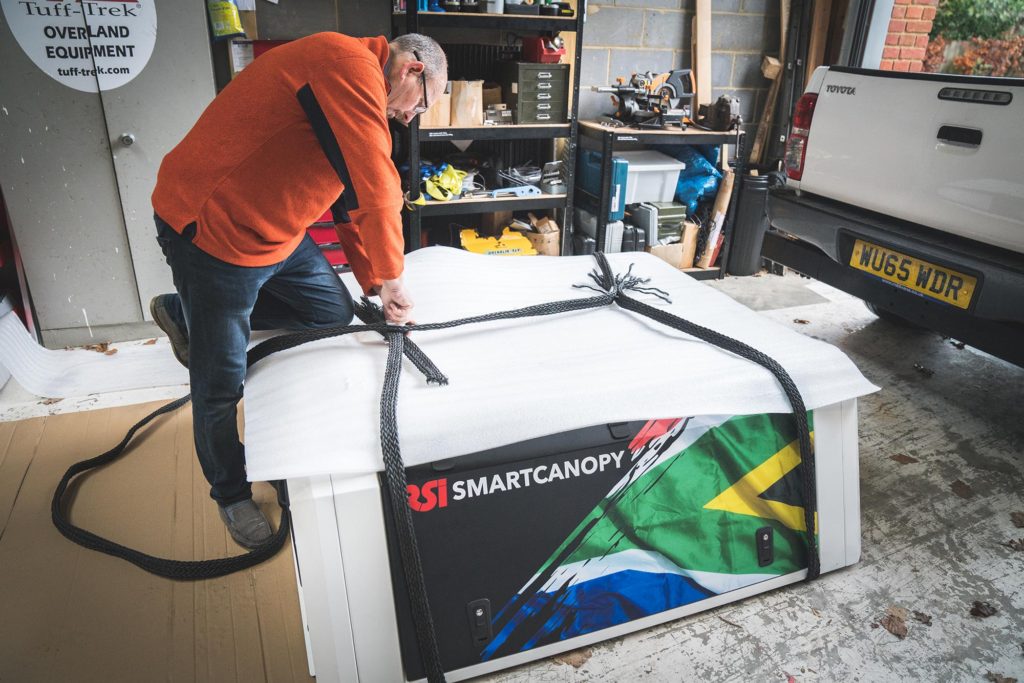
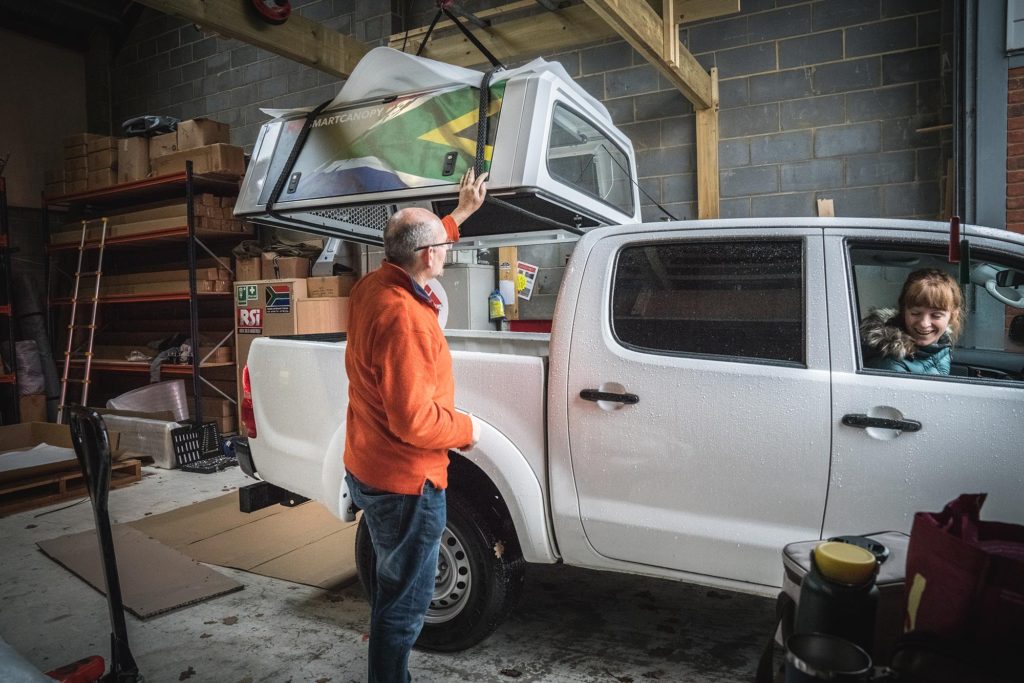
Ultimately, it ticks our boxes with: easy gullwing access; good dust- and damp-sealing; and it comes in at a reasonable weight (circa 187-pounds / 85-kilograms). If anyone knows about rugged luxury in steel, it’s this South African company.
Kitchen
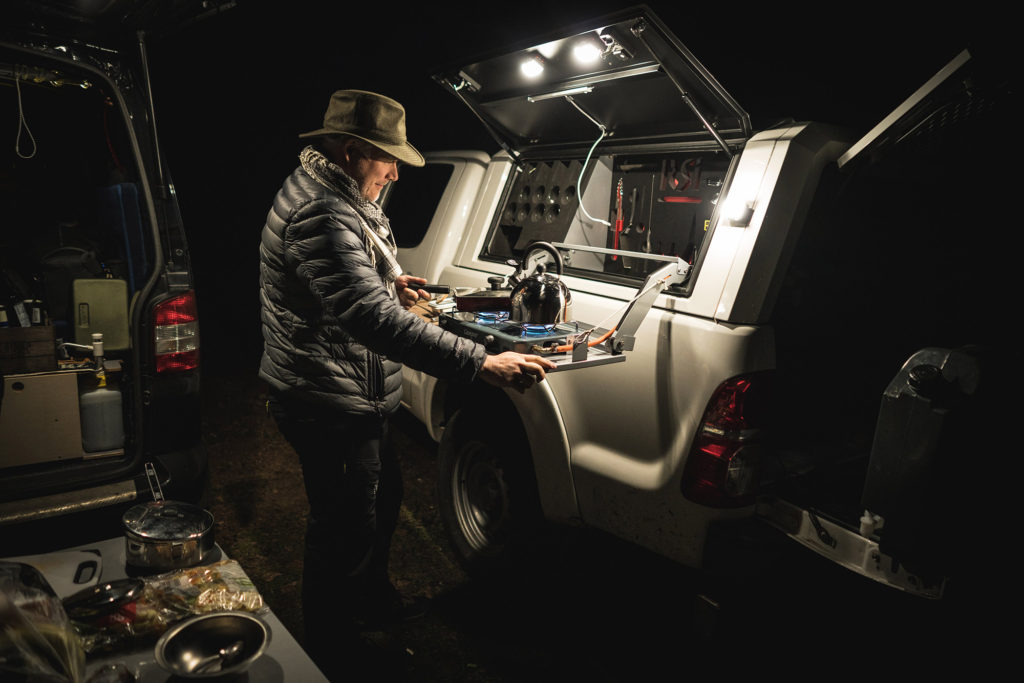
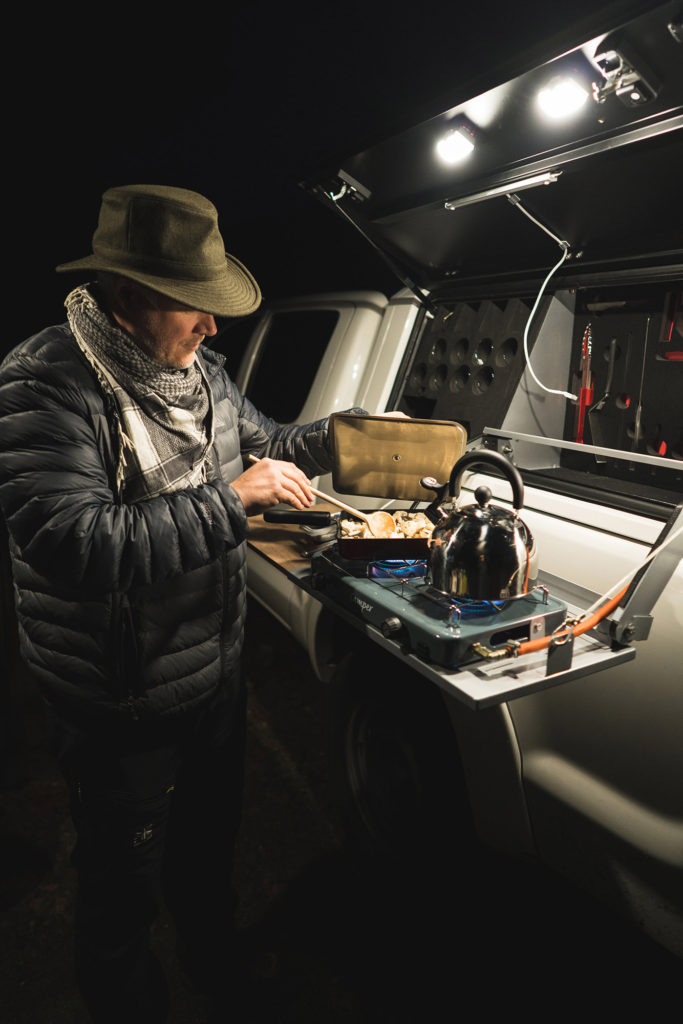
Drawing attention almost every time we open a certain gullwing, the SmartKitchen unfolds on articulated arms (one of RSi SmartCanopy’s plug and play accessories). Equipped with refinements for a family of four, including wine and beer glasses, each of which pack securely inside foam precision cut spaces.
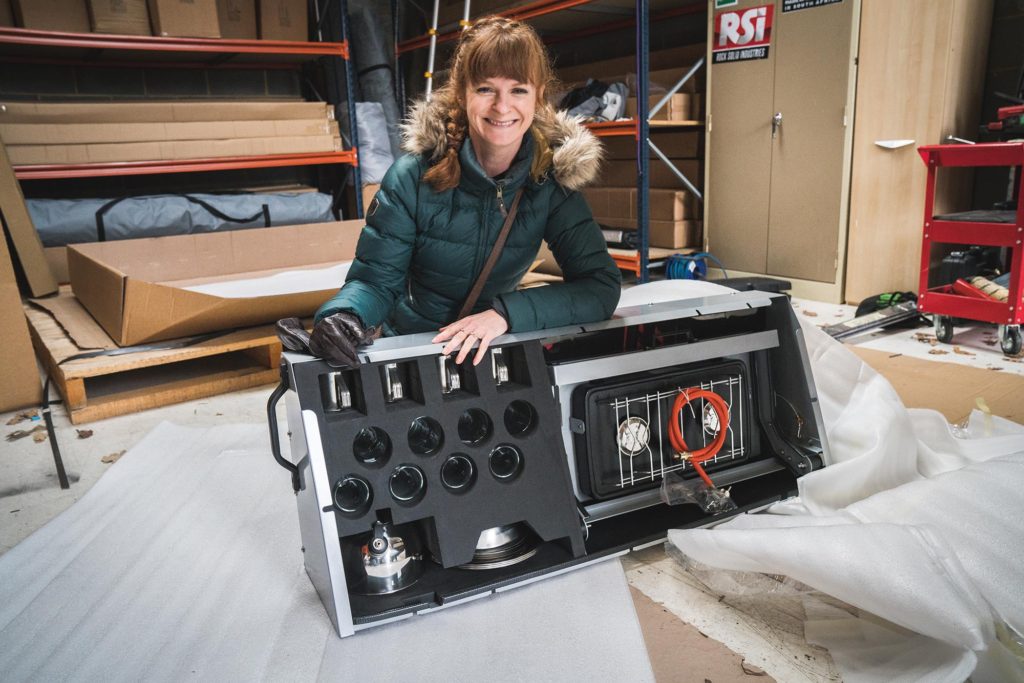
Initially, Jason wasn’t gushing about the space taken in the gullwing but after our dummy run in Scotland, conceded the SmartKitchen was pure genius. In warmer climes, it will come into its own. Better utilising the compartments to the needs of two overlanders, we’ve tailored the set-up and supplanted a couple of surplus items.
Not a bug bind but elevating myself on a foldout step ensures I’m at the right level for cooking, as all vertically challenged folks will find it’s a trifle high. Cleverly, a big foldout table, another accessory, mounts in the canopy roof.
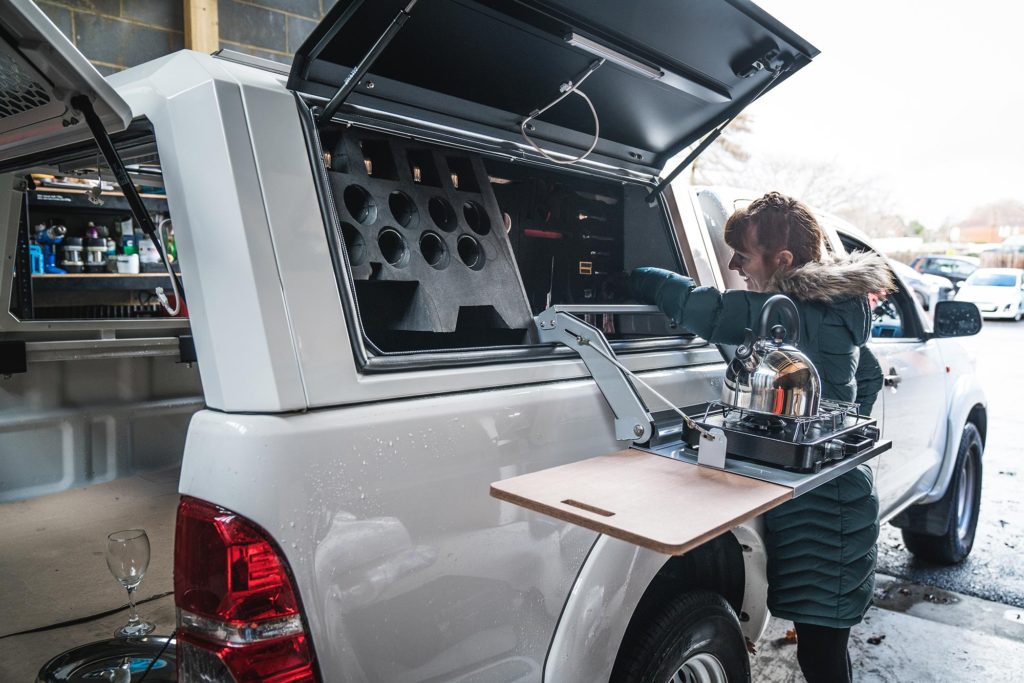
In hindsight, I would have installed the kitchen below the rooftop tent entrance as that’s the hub of our camping set-up. Jason disagrees and argues the ladder would get in the way while cooking; it wouldn’t for me but it would prevent us from simultaneously erecting an awning and the rooftop tent.
Rooftop
Tent
Opting for the SkyCamp (iKamper) because it’s an easy-pop, four-birth, hard-shell was a no-brainer. While the 300 GSM poly-cotton canvas isn’t quite as heavy-duty as others on the market, the construction is a two-layer system. A USP to my mind: the rainfly adds insulation, breathability to the inner-tent and foremost, does not con-den-sate!
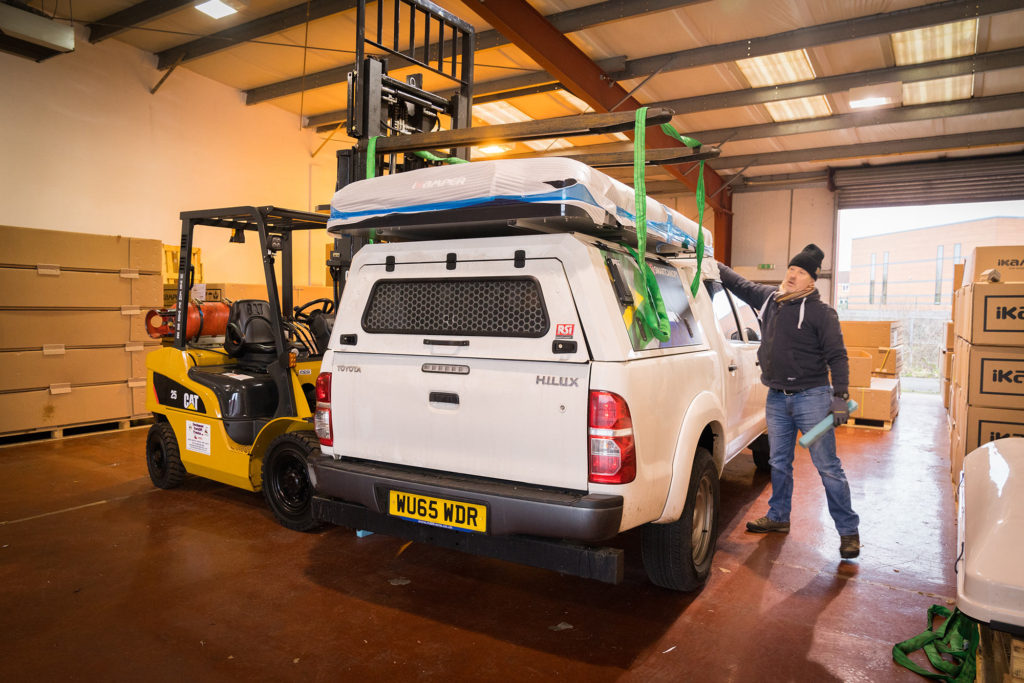
Set-up is a minute, which makes it a game-changer. Opening the skylight, two side windows and a big porched door contribute to feeling connected to the outdoors, where mesh and blackouts on each come as standard. Adaptable, the universal mounting system fits most vehicles.
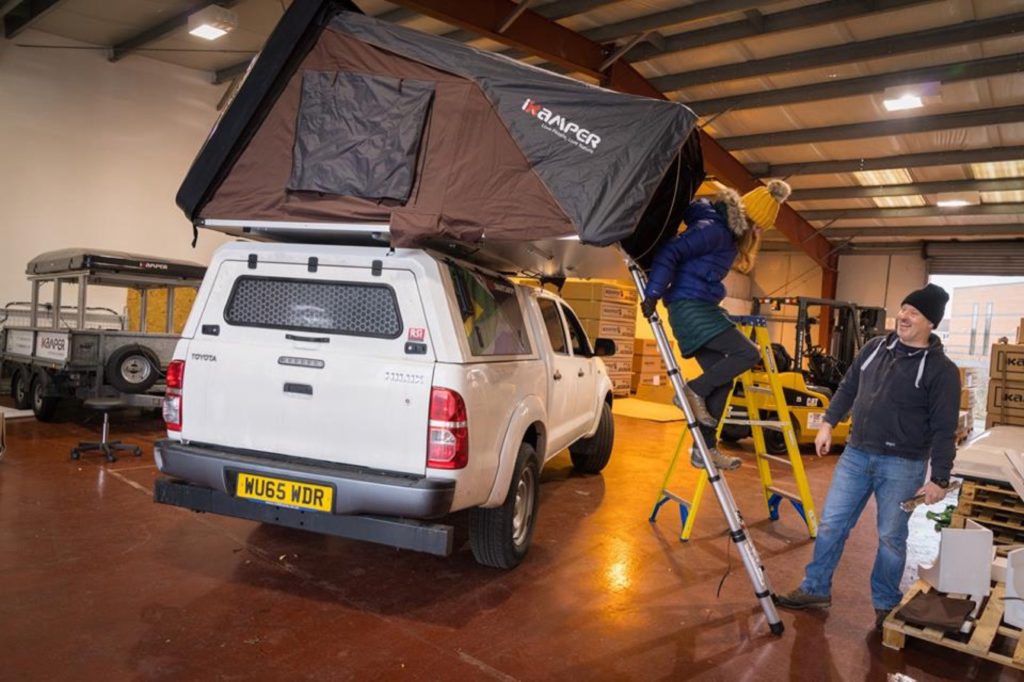
No mattress inflation required, the entire floor space is king-size plush memory foam (on top of which we layer Therm-a-Rest down camp quilts or Oberon sleeping bags when temperatures drop to rude), adding an unprecedented level of comfort. It goes beyond glamping, it’s a real bed.
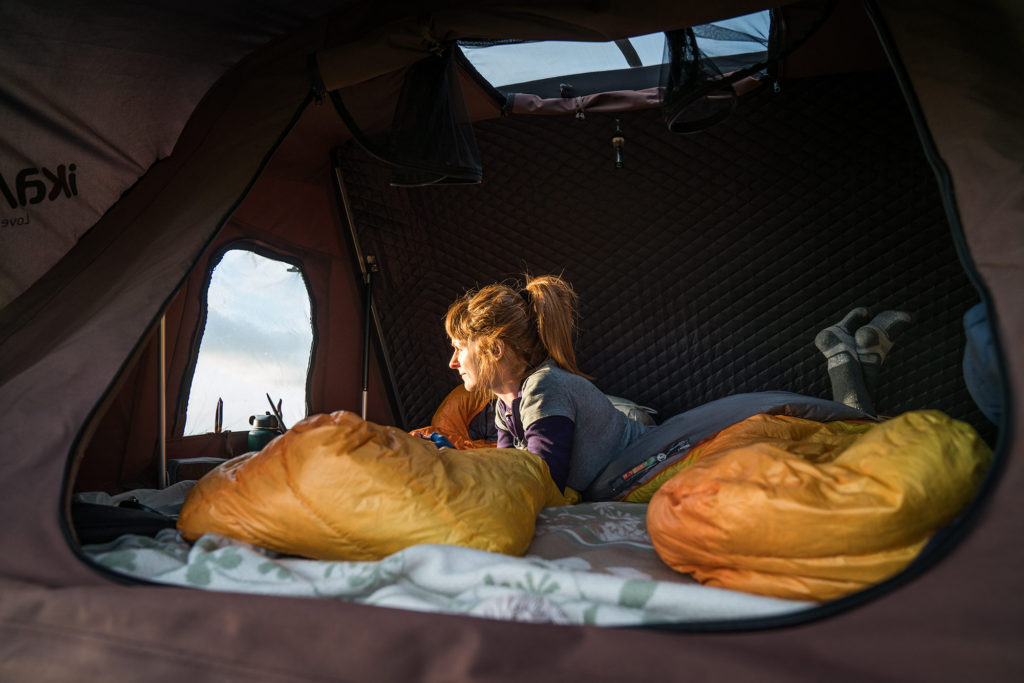
The angled hardtop offers protection from up to 40 mph wind when erected, while it’s aerodynamic at 70 mph packed. But when winds do get silly, we either recline the car seats and sleep in the double cab or bed down in our mountaineering tent (MSR). Gratefully, the hard-shell offers security against vagrants with its lockable latches and has big real estate value in attaching solar panels.
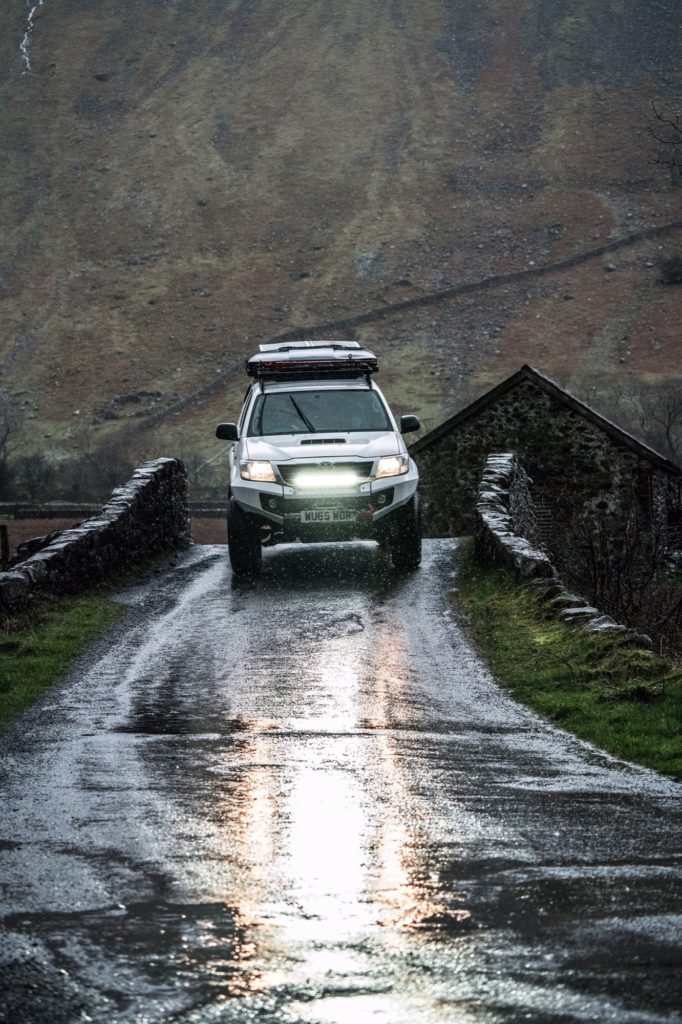
Like all canvas tents, once wet, we like to dry it out with the utmost dispatch to prevent moisture damage and elongate its life. Lastly, watch out for the extra height gained on your rig; some parking lots (car parks) are now inaccessible.
Overall: as sleek, weight-conscious but space-rich tree houses atop of your 4WD go, it’s a South Korean Ewok special. @fourwheelednomad





[…] Stay tuned for Part 3 of 3! Here’s Part 1 of 3. (Toyota Hilux Build: The Mega […]
[…] Thanks for reading, here’s Part 1 and Part 2 (Toyota Hilux Build: Iceland to South […]